





Top o' the mornin' to ya, friends!
Today I bring to you a very simple gift idea for those who, well, just already kinda have everything you need so you never know what to get them for their birthday. AKA: my superwoman of a sister-in-law who just birthed triplets and is probably in SERIOUS need of some "me" (or "her?") time.
I present to you...the Gift card bouquet! AKA: a little bit of everything gift with MUCH better presentation than those stupid gift card envelopes.

Here's where I found my original inspiration:

Tools:

Flowers of some sort with equal amounts of gift cards. I chose gift cards I knew she would use on herself: Bath & Body Works, Chick-Fil-A, Marble Slab (the girl LOVES her some ice cream!), Panera and Starbucks.
I've seen people cut out flowers from that foam stuff or even cardstock but A) that was too much work and B) all that time and effort that went into cutting out the perfect flower would be dumped in la garbage. I decided to go with a functional flower buy using the flower hair clips from Hobby Lobby. I figure sissy-in-law gets the gift cards, new babies would get to wear the flowers and I didn't have to spend countless hours trying to cut out the most perfect little daisy. Win/win? Yethhhhh.

Oh ya. You'll also need a vase of some sort (this was a tall metal vase/planter from Hobby Lobby), sticks (also from Hobby Lobby), some type of moss, and ribbon of some sort to use as the leaves on the stem of your flower. (The ribbon pictured below ended up not working out so I used green tulle instead and I think it turned out much cuter.)

Okay! Now you're ready!
Step one. Clip and/or hot glue your flower to one of the sticks. We'll call this the "Flower Kabob".
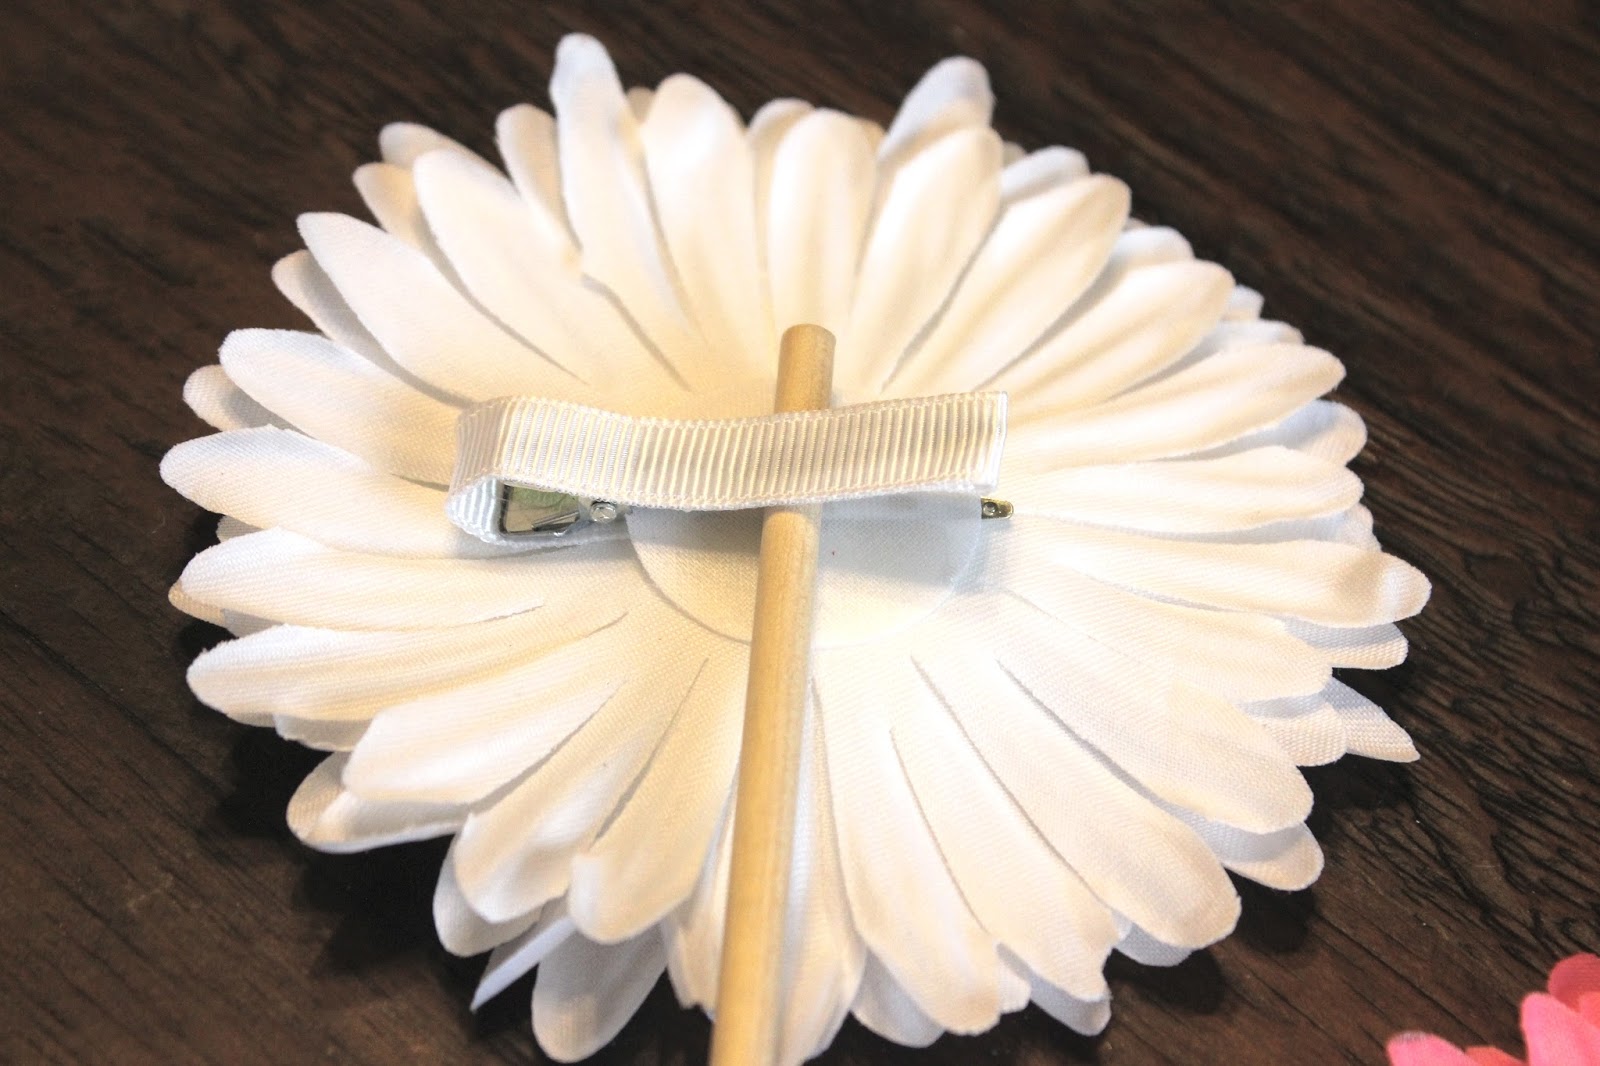
Step two. Make 4 more flower kabobs, or until all your flowers are on their designated sticks.

Step three. Hot glue (or use glue dots, like I did) to stick your gift cards to the backs of your flower kabobs.

Step four. Place a fair amount of moss into the bottom of your vase. You'll want to use quite a bit to see that it will hold your flower kabobs in place.

Step five. Shove your little flowery beauties in there, make leaves on your stem by using ribbon (or green tulle, like I decided to use last minute), tie a ribbon around the top of the vase to give it some extra flair and voila!


Festive AND functional...yes?!

+++
You know what to do!
1. Link up using the linky tool below.
2. Link back to mine & Katie's blogs in your post so other people can know where to find the link up!
3. Paste our button (HTML code below) at the bottom of your post.
4. Visit & re-pin other blog images to get new inspiration and find new friends!

Come back and join us every Thursday for Saw it. Pinned it. Did it.
We promise we'll love you forever! ;)


